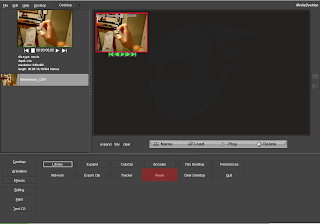
Go ahead and press the Keyer button. The video you want to chroma key doesn't need to have a background that's chartreuse or a deep blue, but those two colors, because of their properties of being rare in an image while also being on the far sides of the RGB spectrum, makes for much cleaner chroma keying. You'll know what I'm talking about later.

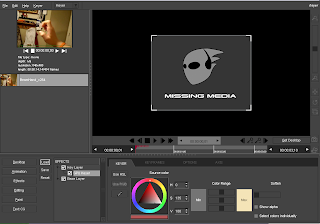
In any case, now you see that you are in a completely different window. Look at the tree at the bottom-left next to the major tabs. There is a Keyer Layer, subcatagorized by a GPU Keyer, and then the Base Layer. The reason why the GPU Keyer is called that is because the preview and the render is done by your graphics card, or whatever your GPU is. Thank God it was, since you now can preview your video at normal speed with the chroma key in effect.
At this stage, the importance of having a compatible video format becomes crucial (the reason for the Content Pipeline in the first tutorial). I suggest mpegs, since they always tend to work for me. Click on the GPU Keyer layer to highlight it, then drag the video you want to chroma key from your media player right on top of the layer. You should see your video pop up on your editing monitor in a couple seconds. Do the same thing for the Base Layer, which is the background picture or video that the other video is going to key over. Now we need to "key" the color you want to erase. To do that, click on the GPU Layer, then click on the eyedropper button on the left of the color wheel. You should see a zoomed-in image of your eyedropper in action on the upper-left. Find the pixel with the color you want to key, then click. The chroma key should take effect immediately.
Most likely, the first time you chroma key will produce a dirty result. To make it better, you probably need to adjust the range of colors that can be deleted. The sliders on the right of the color wheel are fit for that purpose. The top corresponds to red, middle for green, and the bottom for blue. If you had the pure green or blue background to key, this should be easy street, since these are colors that are uncontaminated by the other colors. All you need to fiddle around with is the range for the particular pure colored you keyed while bringing the other two sliders all the way down to the left. If you have a "mixed" color, then all I can say is good luck.
Once you have your desired result, click on the button resembling an old-fashioned video camera on the bottom-right of the preview monitor. This is the render button. Your video will be rendered and then moved straight to your desktop. Then, go to the Editing tab, throw that rendered video on the track, click the video camera button on the bottom-right of the preview monitor, and then watch your professionally chroma keyed spectacular.
Great job ! Have you tried to do ever green screen video footage, in my opinion, it looks great!
ReplyDelete